
MusicMaster Blog
Using the MusicMaster CD Ripper posted on November 22nd, 2010
By Marianne Burkett
Depending on your “normal” habits of adding music to your MusicMaster library, you may not be aware of a convenient feature that is available: the CD Ripper .
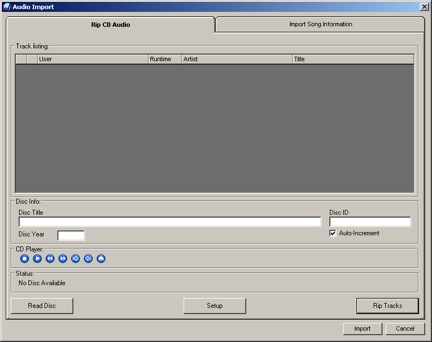
Go to Tools/Import CD Audio
You’ll see this:
 Toss a CD you’d like to import into your CD drive of your computer and allow it to process.
You will see then if any data is available on the CD:
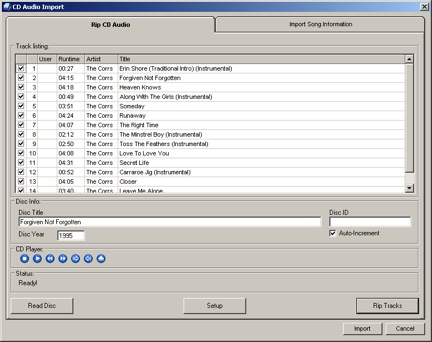 In this case, the CD Data contained the Title of the Disc, year of release, Artist, Titles and Runtimes. MusicMaster uses the FreeDB database to populate this information.
Next step is setup. Click on Setup: There you’ll have the option to rip to WAV, MP3 and in the case of the example below… I’m ripping Metadata only because I don’t want to actually import the music at this time.
 Had I selected mp3 in the Audio File Format selection drag down…it would actually rip the audio into my Base File Path with Artist – Title.mp3.
Then I will select Rip Tracks!
 Now I’ll see this screen:
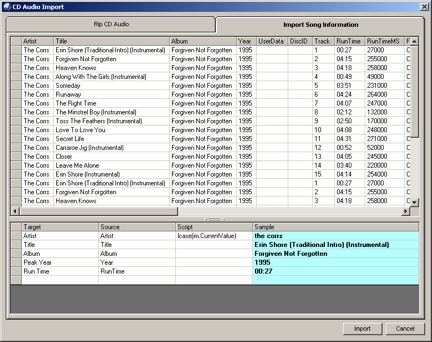 What you see on the screen is the available Metadata on the CD.
Be sure at this time to match the Target Field to the Source. “Target” is which field in MusicMaster the data will be directed to and “Source” is what information is available on the CD…which you see on the screen. After you’re done setting up the fields, simply click on “Import”.
Now all the titles I just ripped will go directly into “Uncategorized Songs”
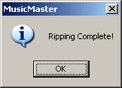
I’ll get this message before I close out:
 I go to Uncategorized songs and there are my songs! All I need to do now is put them in normal categories, code them and be sure to enter my artist keywords and I’m done!
